

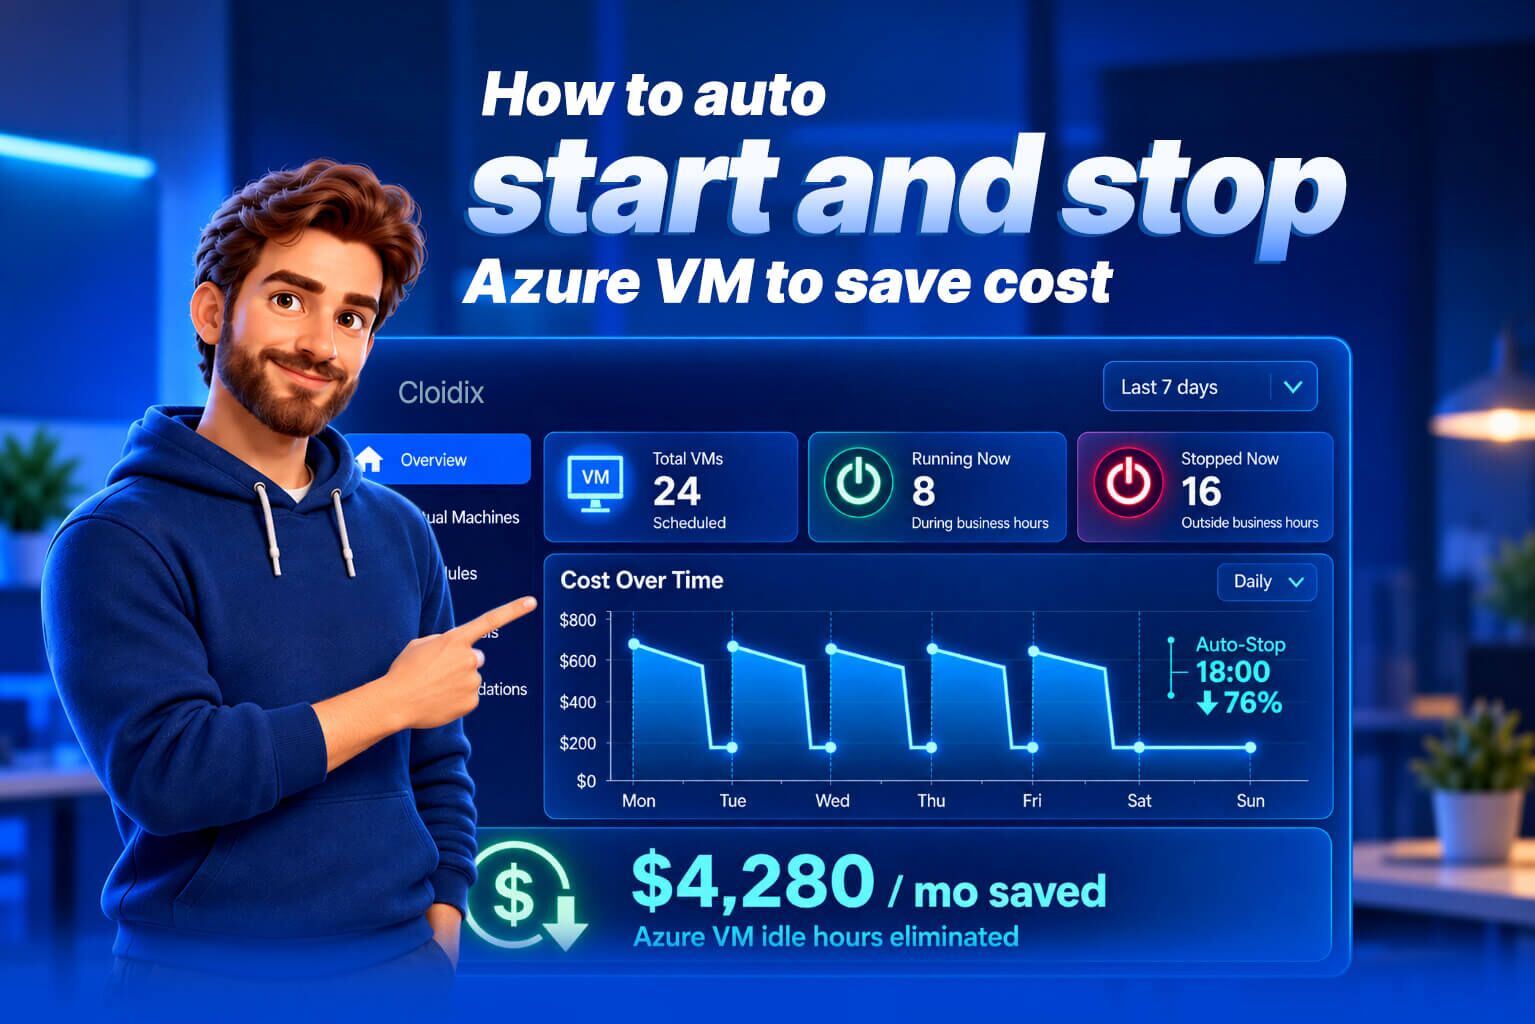
You can auto shut down idle Azure VMs in three ways. The built-in Auto-shutdown feature (under Operations on the VM blade) deallocates a VM at a set time each day, but it only stops the VM, it never starts it back up. To automate both stop and start, you use Azure Automation runbooks or an Automation Task / Logic App. And to schedule hundreds of VMs across multiple subscriptions at once, with the cost savings shown before you commit, you use a tool like Turbo360’s Cost Analyzer.
Key takeaways
- Native Azure Auto-shutdown is free and takes two minutes to set up. Its catch: no auto-start, so someone has to power the VM back on every morning.
- Deallocating a VM stops compute billing. You still pay for the disk, but that’s a fraction of the cost.
- Azure Automation handles start and stop together, but you’re now maintaining runbooks and scripts, which is more moving parts than most teams want.
- For fleets of VMs spread across subscriptions, per-VM setup doesn’t scale. That’s the gap Turbo360 fills, with the estimated savings shown up front.
What counts as an “idle” Azure VM?
An idle Azure VM is one that stays powered on while doing little or no useful work. Think of a dev or test box left running overnight, or a machine that sits at low CPU and memory outside business hours.
Here’s the part that trips people up. An idle VM still costs the same as a busy one. Azure bills you for the compute you’ve reserved, not for how hard the VM is working. So a machine humming along at 3% CPU all weekend is billed exactly like one running at full load.
Non-production VMs are usually the biggest offenders. They tend to be needed only during working hours, yet they’re often left on around the clock. Every one of those off-hours is spend you get nothing back for.
Why do idle VMs quietly drain your Azure budget?
A few things stack up:
- Workloads drop to near zero during off-peak hours, but the VM keeps running at full allocated capacity.
- Over-provisioned machines carry cost you never use, and under-provisioned ones degrade and sit around longer than they should.
- Attached resources matter too. Networking and storage dependencies (a SQL Server backend, for example) affect how long a VM sits idle.
None of this shows up as a dramatic spike. It’s a slow leak. And then the invoice arrives and you’re trying to work out which machines made up the number.
The fix is simple to state: find what’s driving the idle time, then power those VMs down when nobody needs them. Doing that by hand across a real environment is where it falls apart, which is why people automate it.
What are the native ways to auto shut down Azure VMs?
Azure gives you two built-in paths. Both work. Both have a limit worth knowing before you pick one.
Option 1: Built-in Auto-shutdown (Azure portal)
This is the fast one. Every VM has a scheduling setting baked in.
- Open the Azure portal and go to your virtual machine.
- In the left menu, under Operations, select Auto-shutdown.
- Toggle it On, then set your shutdown time and time zone. (Double-check the time zone, it defaults to UTC.)
- Optionally add an email address or webhook URL to get a heads-up before the VM stops.
- Save.

At the scheduled time, Azure deallocates the VM. Compute charges stop, your disk stays put, your data is safe.
The limitation: Auto-shutdown only schedules the shutdown. There is no built-in startup. So if a VM powers off at 6 PM, someone has to start it again the next morning, by hand, one machine at a time. Fine for a single box. Painful across twenty.
Option 2: Azure Automation (runbooks and Automation Tasks)
When you need the VM to come back on by itself, you move up to Azure Automation.
The quick version uses Automation Tasks, which run on Logic Apps behind the scenes:
- On the VM blade, go to the Automation section and open Tasks.
- Add a task and pick the Deallocate virtual machine template. Set the time and frequency.
- Add a second task using the Start virtual machine template for the morning.
For anything more involved, you write a runbook, which is a script that spells out exactly which VMs to stop or start and when. Runbooks can target VMs by tag, so you’re not hardcoding machine names.
The tradeoff here is real. A basic runbook tends to treat all your VMs the same, stopping them together, which rarely matches how teams actually work. Tag-based runbooks give you finer control, but now you own and maintain scripts. Any bug in that code can leave a VM off when it should be on, or on when it should be off.
Native Azure vs Turbo360: which should you use?
| Built-in Auto-shutdown | Azure Automation | Turbo360 Cost Analyzer | |
| Schedules shutdown | Yes | Yes | Yes |
| Schedules startup | No | Yes (via runbook / task) | Yes |
| Bulk-schedule many VMs at once | No, one at a time | Partly, needs scripting | Yes |
| Works across multiple subscriptions | No | With effort | Yes |
| Shows estimated savings before you apply | No | No | Yes |
| Setup effort | Very low | Medium to high (scripts) | Low |
| Covers non-VM services | No | Custom code | Yes, App Service, SQL, Logic Apps, Cosmos DB and more |
| Cost | Free | Free (plus your time) | Paid |
How to auto shut down VMs at scale with Turbo360
Say your application runs on 100+ VMs spread across several subscriptions. Setting Auto-shutdown on each one, then starting them back up by hand every morning, isn’t a plan. It’s a chore nobody will keep up.
Turbo360’s Cost Analyzer lets you build one optimization schedule that starts, stops, or changes the service tier of compatible resources across all your subscriptions, and it shows the savings before you hit go.
Here’s the flow:
- Create a cost management group with access to the subscriptions you want to cover. This gives you one view of the spend.
- Go to Optimization → Schedules → Add.
- Name the schedule, pick your time zone, and add a short description so you remember what it’s for.
- Set the up and down hours. Business hours usually land around 8 AM to 5 PM. Mark the off-hours, and the estimated savings for that configuration show right there on screen.
- Select the VMs to include. They’re listed by subscription. Set Start as the Up action and Deallocate as the Down action.
- Choose where alerts go. Turbo360 sends to ServiceNow, SMTP, PagerDuty, Microsoft Teams, Azure DevOps, Opsgenie, WebHook, Twilio, Slack and more, so notifications land wherever your team already works.
- Review the summary (scheduled resources, projected savings, notification channels) and click Create Optimization schedule.

Done. The VMs stop and start on schedule, and you get notified each time they do.
What you get from doing it this way:
- Dozens or hundreds of VMs on one schedule, stopped and started together or in their own groups.
- Savings shown before you commit, so you can plan the spend instead of guessing at it.
- The same scheduling applied beyond VMs. Cost Analyzer also handles App Service Plans, SQL Database and Elastic Pools, Logic Apps, Data Factory and Synapse pipelines, Cosmos DB (SQL Container, SQL Database, Table), and VM Scale Sets.
The bottom line
Idle VMs are one of the easiest wins in an Azure bill, and one of the most ignored. The built-in Auto-shutdown covers a single machine in a couple of minutes. Azure Automation adds the startup side if you’re willing to own the scripts. Once you’re managing a fleet across subscriptions, though, per-VM setup stops making sense, and a scheduler that handles the whole environment (and tells you what you’ll save first) pays for itself fast.


