
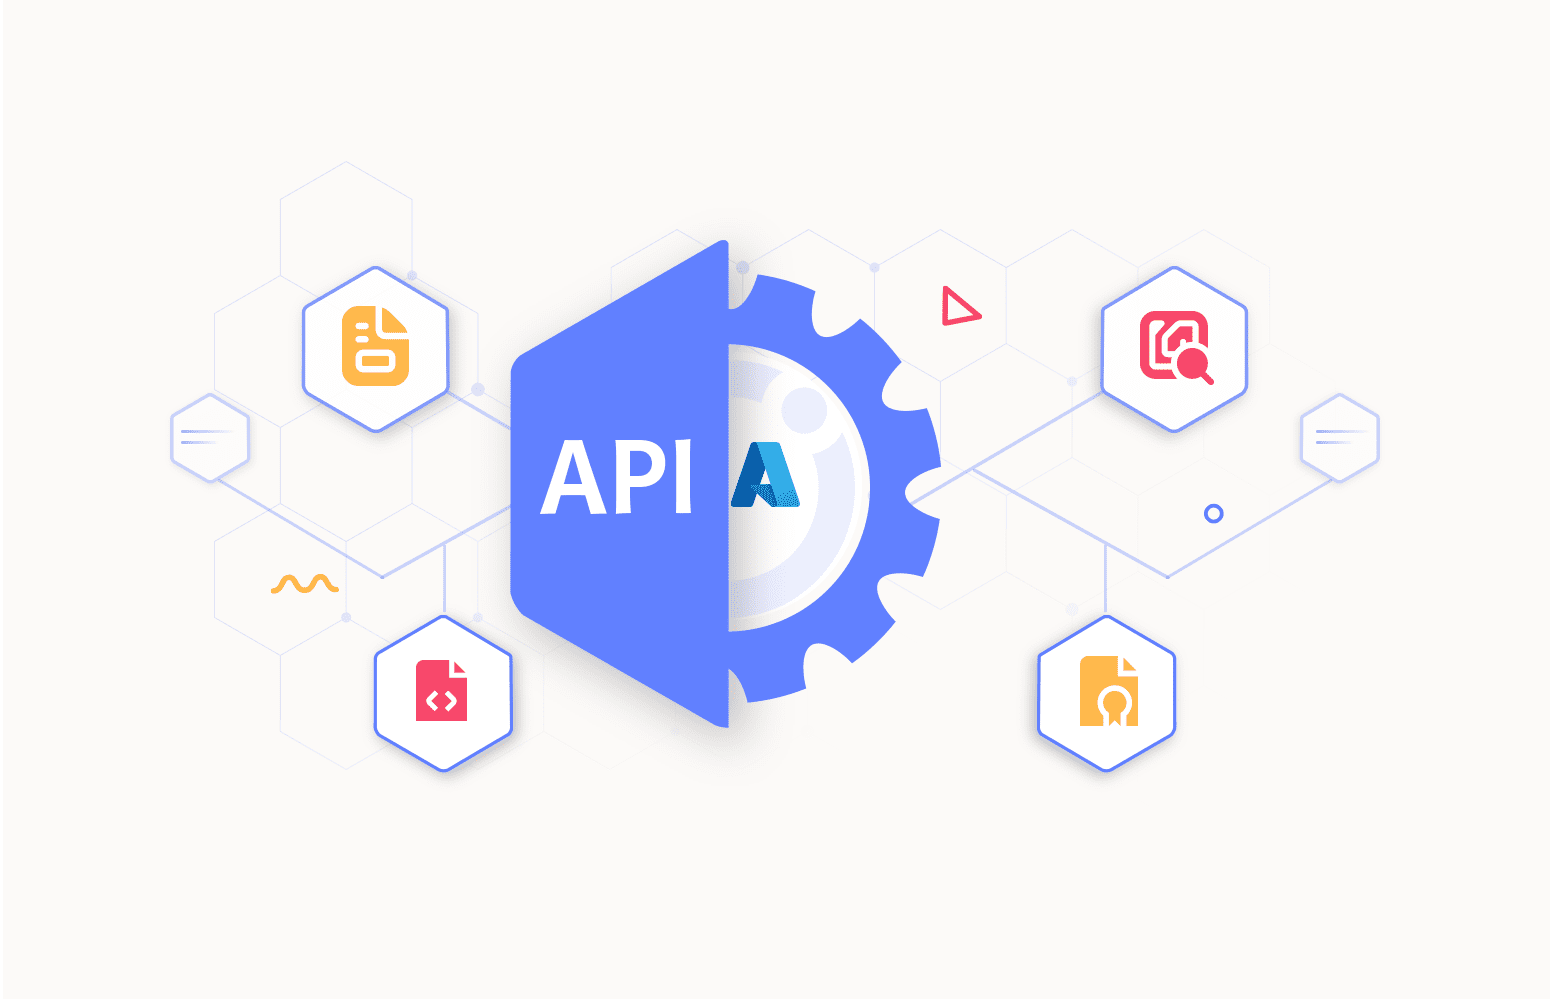
Say hello to the latest arrival in the Azure Integration landscape: Azure API Center, and it’s worth noting that it’s currently in its preview stage!
what is Azure API Center (preview)?
Azure API Center is a cloud-based solution designed to assist you in building and managing a well-structured catalogue of your organization’s APIs. This service makes it effortless to distribute your APIs throughout your entire organization. For some companies, the absence of a dedicated API management infrastructure poses challenges in identifying available APIs and understanding their status. This is precisely where the Azure API Center comes into play.
With API Center, you gain the capability to centrally track all your APIs, simplifying their discovery, reuse, and governance. Harness the power of API Center to create and maintain a structured catalogue of your organization’s APIs, regardless of their type, lifecycle phase, or deployment location. This includes managing associated information like version details, API definition files, and essential metadata.
It’s crucial to differentiate Azure API Center from Azure API Management, which acts as an API gateway and runtime infrastructure for applying policies to APIs, and API Center, which primarily serves as a catalogue and inventory management solution. Once again, it enables API discovery, reuse, and governance.
Standout Azure API center features
Below, we’ll explore some of the standout features offered by Azure API Center:
- API Inventory Management: API Center helps you track and manage all your APIs in a single location. You can define the metadata for your APIs, such as their name, description, version, and endpoints. You can also define security policies for your APIs, such as who can access them and what they can do.
- API Documentation: API Center provides a rich API documentation experience for developers. You can create interactive documentation that includes code samples, tutorials, and swagger definitions.
- API Discovery: API Center provides a portal for developers to discover and consume your APIs. Developers can search for APIs by name, description, or tags. They can also view the documentation for an API and try it out in a sandbox environment.
- API Governance: API Center helps you govern your APIs by providing a set of policies and controls. You can define policies for things like API access, throttling, and auditing.
Currently, API Center is in public preview, meaning it is available for free during this phase, but it all can change from one day to the other. Also is worth noticing that the API Center is relatively new, and new features are being added in the months that follow this post, but to prepare you for it, here you can have a better understanding of what it is.
How to create an API Center?
To create an API Center, you need to:
- Access to Azure Portal, and on the search bar, search for API Centers.

- Click on it and next click on + Create.

- Next, you will need to populate some fields like:
- Subscription: The subscription you use to create your new API Center
- Resource Group: Provide a name for an existing resource group where you’ll create your API Center, or create a new resource group.
- Name: Select a name to identify your newly created API Center. The name should contain only alphanumeric characters, up to 30 characters long.
- Region: Opt for a region.

- Next, Review and Create, and Create the API Center, wait for the creation, and next click on Go to resource. And your API Center should look like this:

- Now, there are some key features we need to understand about the API Center, so let’s for now focus on three of them:
- Metadata and Metadata Schema.
- APIs.
- Environment.

Metadata and Metadata Schema in API Center:
- In API Center, you use metadata properties to organize your assets and enforce rules. You can customize these properties, like “API type,” and even create your own, like “Line of business,” to fit your organization’s needs. These labels can have different types, and they work well with developer tools and automation, ensuring everything stays organized and follows the right standards.
APIs in API Center:
- An API in the API Center is like a digital version of a real-world API. It can be any type, like REST, GraphQL, gRPC, SOAP, WebSocket, or Webhook. You can use it with different API management solutions, like Azure API Management or others, or even without any management solution. It’s a flexible way to handle different types of APIs in one place.
Environment in API Center:
- In the API Center, an environment is like a profile for where your API can run. It could be a place like an API management platform, API gateway, or a computing service. Each environment has a type, like “production” or “staging,” and might include details about the developer portal or management tools associated with it. It helps you keep track of where your APIs can be deployed.
NOTE: You can have APIs from multiple gateways, not only API Management, so as you can see this API Center is a solution to have all those APIs centralized in one place.
Now, as an example, we can start creating a Metadata Schema. To do so:
- In the left menu, click on Metadata Schema, and next click on Add Property.

-
- This property will work to filter your APIs by the properties you define, in summary, every API Center offers a customizable metadata schema that allows you to structure APIs and other resources based on the properties you detail.
- Next, you will have some fields to populate:
- Title
- Identification
- Description (Optional)
- Properties – Type

- We choose predefined choices, and choosing this will open other parameters, as you can see in the next picture:
- You can then add multiple choices like teams inside your organization that will be using certain APIs, for example, Marketing, Finance, and IT. Also, check the checkbox – Allow selection of multiple values. This means that some teams can use the same APIs and this way it will be easy to understand that and to organize them accordingly.

- Next, go into the Assignments and choose:
- APIs: Required
- Deployments: Optional
- Environments: Optional

- Next review and create – and create the Property:

Creating Environments within Azure API Center
One thing that you also need to add and be aware of is the Environments:
- In API Center, you can keep track of details regarding the environments where your APIs are set to run. An environment signifies the place where an API’s operation takes place, usually within an API management platform, API gateway, or computing service. Each environment is categorized by a type, such as “production” or “staging,” and may contain information about developer portals or management interfaces associated with it.
To create an environment, you need to:
- Choose the Environments from the left panel and then click + Add Environment

- Again, you will have some fields to populate:
- Title
- Environment Type: Testing; Development, Staging or Production.
- Server Type: Azure API Management, Azure Compute Service, Apigee API Management, AWS API Gateway, Kong API Gateway, Kubernetes, MuleSoft API Management
- Management portal URL
- Developer portal URL

- Then click on Create to create the environment.
Register an API in API Center
Now, you are ready to register your first API. And to do so:
- Click on APIs on the left menu, and next click on Register API.

- Again, you will have some fields to populate:
- API Title: the name of the API
- API type: you can choose Rest, GraphQL, gRPC, SOAP, Webhook, WebSocket
- Summary/Description: (optional)
- Version Title: if it is an initial version, or a v2, etc.
- Version lifecycle: defines the state of the API – Design, Development, Testing, Preview, Production, Deprecated, Retired
- External Documentation: (optional)
- Contact Information: (optional)
- Team using APIs: the property we created earlier – where you can choose – Finance, Marketing, IT
- Next, click on Create.

Now, opening the API you just created, you will see that you have two more features:
- API Version
- APIs often evolve and have multiple versions representing changes in their lifecycle. In API Center, you can associate one or more versions with each API to track specific modifications. Versions can range from major changes to minor improvements and can exist at various lifecycle stages like design, preview, production, or deprecated.
- Each API version can be documented with a specification file, such as an OpenAPI definition for REST APIs. API Center accepts specification files in various formats like YAML, JSON, and markdown. You can upload specifications for different API types, including OpenAPI, gRPC, GraphQL, AsyncAPI, WSDL, WADL, and more.
- Deployments.
- In the API Center, deployment is a way to pinpoint a particular environment where a specific API version runs. For instance, you might have one API version deployed in a staging Azure API Management service and another in a production Azure API Management service. Deployments help you manage where each version of your API operates.

Let’s focus on the Deployments. In this case, if you click on it and choose Add Deployment:

- Next again, you will have some fields to populate:
- Title
- Description
- Environment
- Definition (click on select)
- Runtime URL

- On the Definition, click on Select – A new window will open where you can choose your API version and the definition. If you do not have a definition created, click on Create new.

- Again, there are more fields to populate, this time a title for the definition and the specification name. We choose OpenAPI, the specification version, and you must select a document.

- To get the document associated with your API, in the case of API Management, you can access it and do the following into the API:
>
- A download will start, and you can upload the definition in the deployment.
- Next, you just need to choose the definition you uploaded and finally click on Select to finalize this part of the process.

- With the definition selected, do not forget you still have to add the Runtime URL.
In the context of APIs (Application Programming Interfaces), a runtime URL is the specific URL or endpoint where an API is hosted and can be accessed by client applications to make requests and receive responses. In summary, it’s the location where interactions with the API occur during its active execution.
To get the runtime URL, you should already have your API configured and running in a manner that can be interacted with, so for example, in the API Management, select your API, and on Settings, you can copy the Web Service URL.

Back on the Deployments, paste the URL in the appropriate field and click Create to create the deployment.

- Now the Deployment is created:

Conclusion
We have seen an introduction of the new API Center feature in the Azure Portal. As we told you, new features are being added to the API Center in the following months, so stay tuned for what is coming, and we will be sure to let you know about it.


