Introduction
The Azure Messaging team recently announced support for IP Address filtering for both Azure Event Hubs (Standard and Dedicated plans) and Azure Service Bus Premium plan. Within this article, we will further explore this feature and discuss why this is an important capability.
Why is this feature important?
Azure Event Hubs and Service Bus entities are naturally accessible over the internet. They are protected through Shared access policies that include 3 different claims, including manage, send and listen. If you have a business partnership with a third party who is responsible for publishing messages to a Service Bus/Event Hub entity, you would likely create a shared access policy for them and include the send claim. If they also received messages from the same namespace, you would include a listen claim which provides them with the ability to retrieve messages from a Service Bus/Event Hub entity.
“What happens if this partner does not properly protect their shared access policy which contains a Primary Key and a Secondary Key”?
Consider a scenario where a disgruntled employee at the partner organization obtains the Primary or Secondary Key and starts to send poison or malformed messages to the Service Bus/Event Hub entity from a location outside of your partner’s network? Not only does this reflect poorly on the partner, but it likely creates operational issues for your business as well.
By filtering IP Addresses, you are reducing the attack surface of your Service Bus/Event Hub entities. In the situation where this rogue employee tries sending messages off the partner’s network, those messages can be discarded and an unauthorized response returned to the publisher. But without the IP Address filter, this rogue employee could send malignant messages from any public network.
Implementation of IP Address filtering
Let’s now take a look at what is involved in configuring IP Address filtering for Azure Event Hubs and test the behavior of this capability. There are two parts to this implementation. First, we need to create an Event Hubs Namespace. Subsequently, we need to create an actual Event Hub. Do note that when we create an IP filter rule, it gets applied to the Event Hubs Namespace.
Create Event Hubs Namespace
- Navigate to the Azure Portal.
- Click on Create a resource.
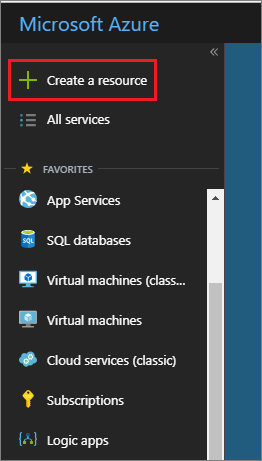
- Type in Event Hubs into the Search the Marketplace textbox.
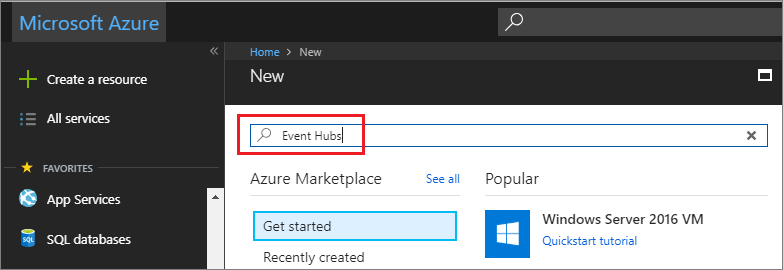
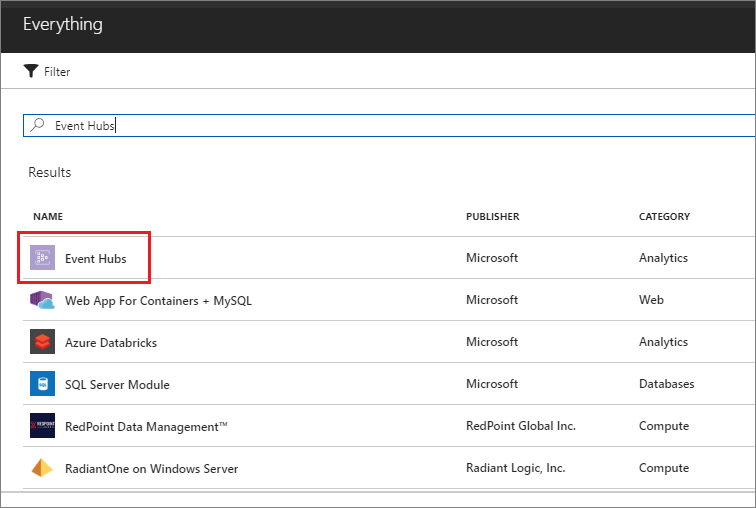
- Select Event Hubs.
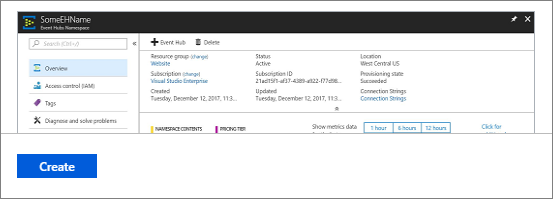
- Click on Create
- We now need to create our Event Hub by populating the following options:
Feature Name Feature Value Description Name Name of Event Hub Must be a unique value Pricing tier Standard Do note that the Standard tier does cost approximately $22 USD for a million events per month. Also, Note that IP filtering is only available in Standard or Dedicated pricing tiers.
Subscription Choose an appropriate Azure subscription Resource Groups Create a new Resource group or select an existing Resource group. Location Choose appropriate Azure Region Throughput Units 1 1 Throughput Unit is enough for the purposes of this blog post. 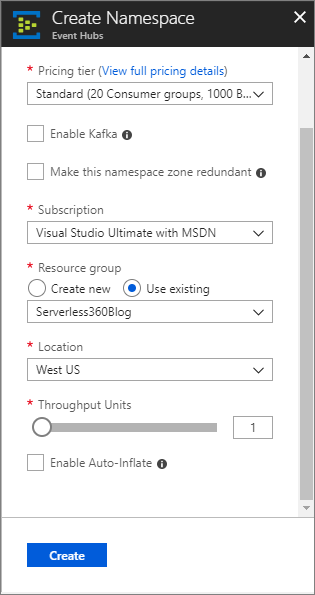
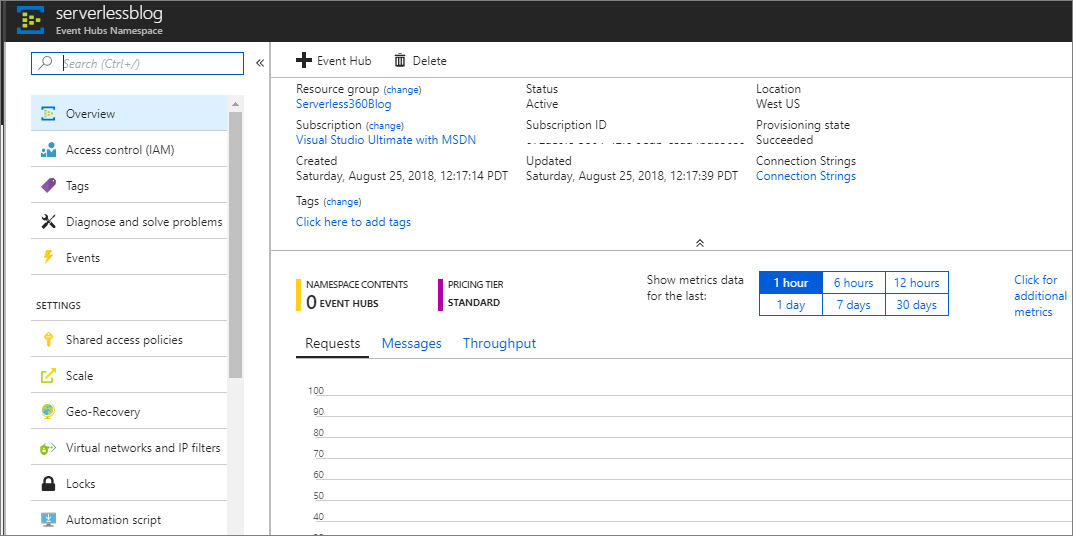
- Within a couple minutes, we will discover our Event Hub has been created.
- Within our Event Hubs Namespace configuration experience, we will discover a Setting called Virtual networks and IP filters.
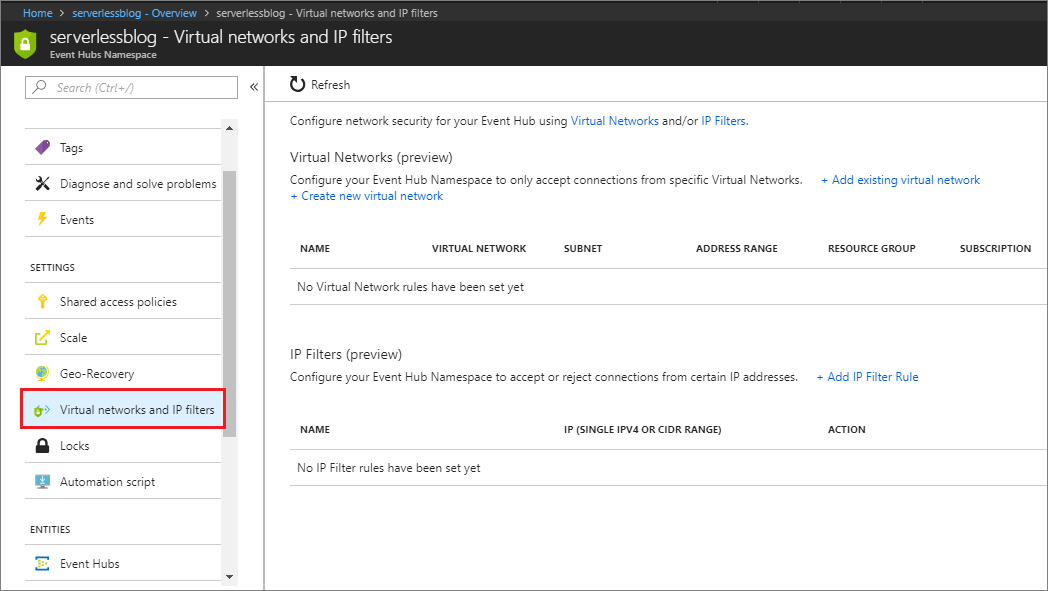
- We can choose to have our Event Hub only accessible to a Virtual Network. For example, you may have a series of Virtual Machines that belong to a specific Virtual Network. By enabling this feature, you can avoid worrying about whether or not a Virtual Machine’s IP address has changed or a different range is being used. But, for this blog post example, we are going to focus on just IP Address filtering. As we want to emulate a trading partner scenario where someone on an external network needs to publish messages to an Event Hub but we want to restrict from what IP Addresses they can do this.Before we configure this setting, there are a few important things to be aware of that the Azure documentation calls out:
- Only IPV4 Ip Addresses are supported
- A single IP Address can be provided, but IP Address ranges must be in CIDR. For example, in CIDR notation 70.37.104.0/24 represents the 256 IPv4 addresses from 70.37.104.0 to 70.37.104.255. With 24 indicating the number of significant prefix bits for the range.
- ipFilterRuleName must be a unique, case-insensitive, alphanumeric string, up to 128 characters long.
- ipFilterAction is either Reject or Accept as the action to apply for the IP filter rule.
With this pre-requisite information out of the way, let’s go configure a rule!
- Click on the + Add IP Filter Rule link

- We now need to provide an IP Filter Name, IP Range and Action. Once these values have been provided, click on the Add button
Name Value IP Filter Name Trading-Partner-Network IP Range Your IP Range i.e. 70.37.104.0/24 Action Accept 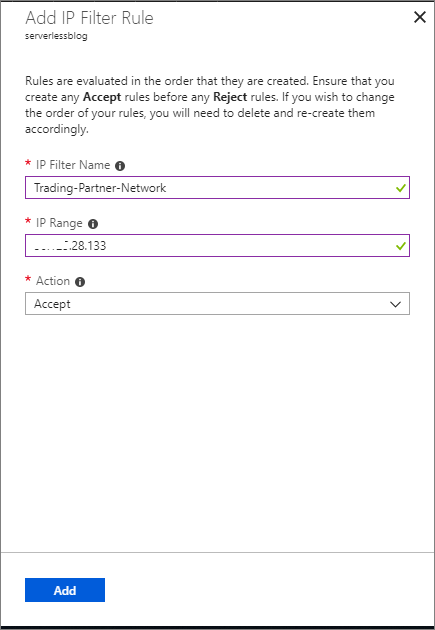
Create Event Hub
- From within the Event Hubs Namespace configuration experience, click on the + Event Hub link.
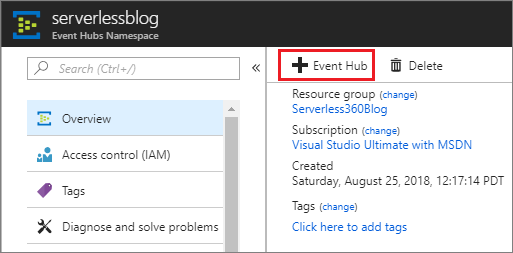
- Provide a Name for your Event Hub. For the purposes of this blog post, I have provided a Name of Orders. We can accept the defaults for Partition Count, Message Retention, and Capture. Click Create to proceed.
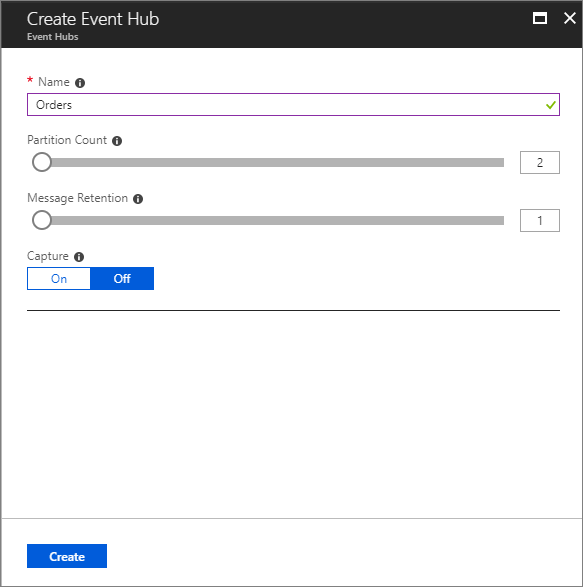
- Within a few seconds, we will see that our Event Hub has been provisioned.
- We don’t want to provide our publisher with “Root” access so we will create a new Shared access policy that has permission to Send, but nothing more. To do this, click on Settings – Shared access policies.
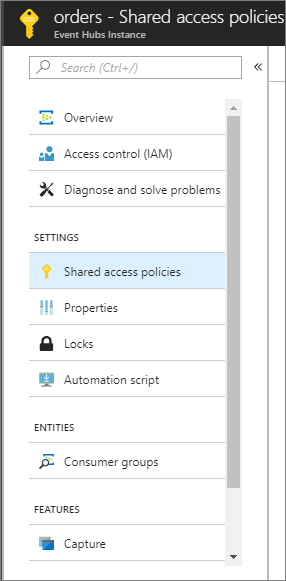
- Next, click on the + Add link
- Provide a Policy name, click Send permissions and then click on the Create button.
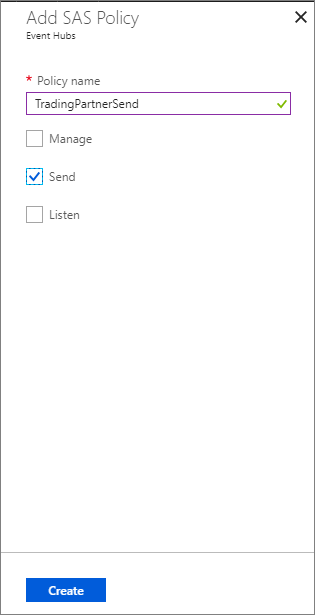
We now have a configured Event Hubs Namespace with an IP filter rule created. In addition, we added an Event Hub to this namespace and created a Shared Access Policy so our publisher can connect to our Event Hub.
Testing
Let’s start off with a positive test, meaning we will make a connection to our Event Hub using the IP address that we configured as part of our Accept rule. In order to test this functionality, we need to be able to send a message to this Event Hub endpoint. To accomplish this, we will use the code sample provided on the Azure documentation page.
Once you have downloaded the sample from GitHub, you need to make a couple of modifications to the sample code in order to connect to your Event Hub. More specifically, modify lines 14 and 15 to reflect your Event Hub connection information.
Note: You can obtain your connection string by clicking on Shared access policy that you created in a previous step.
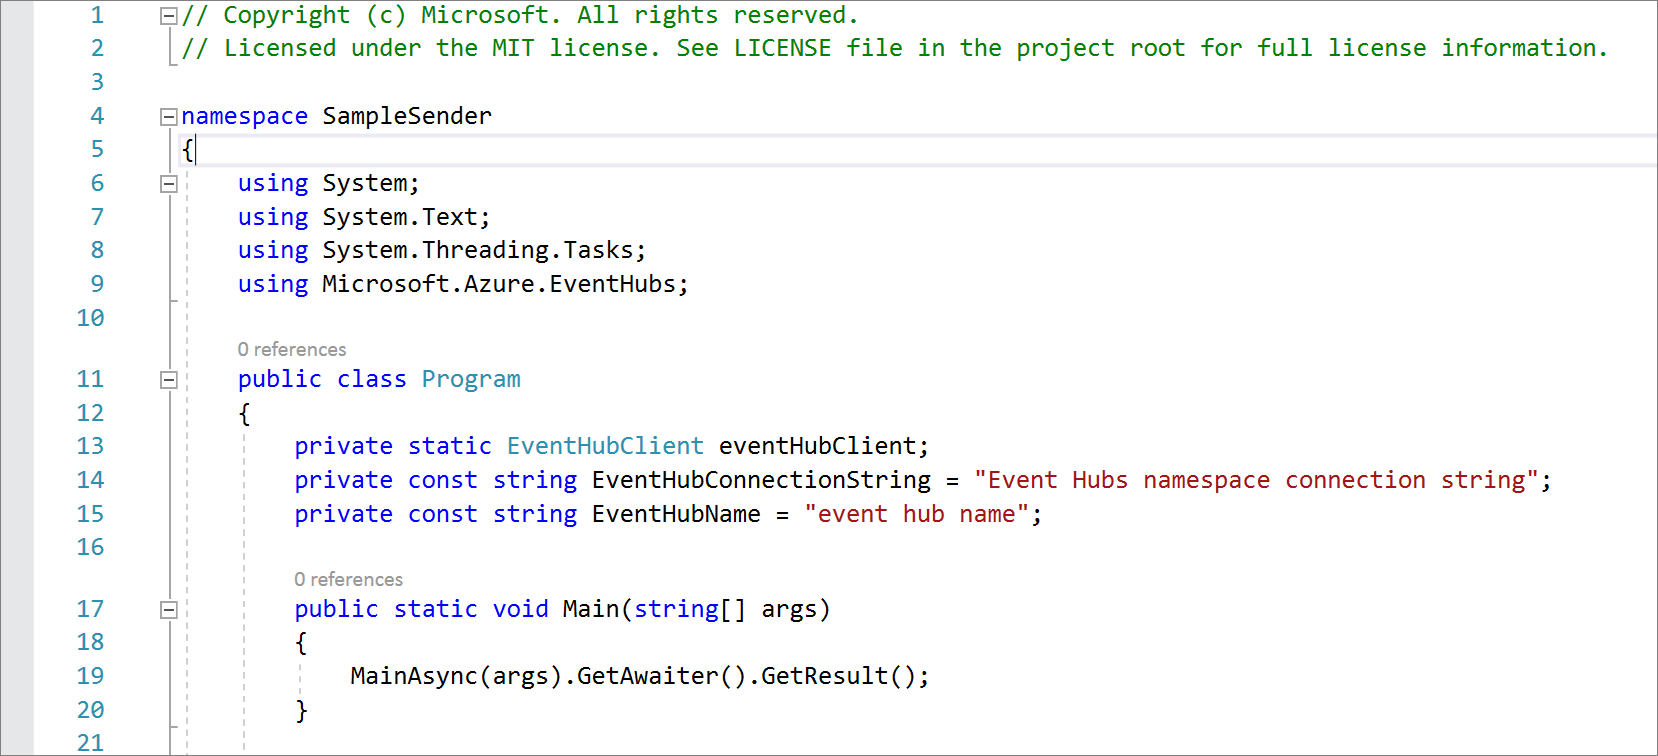
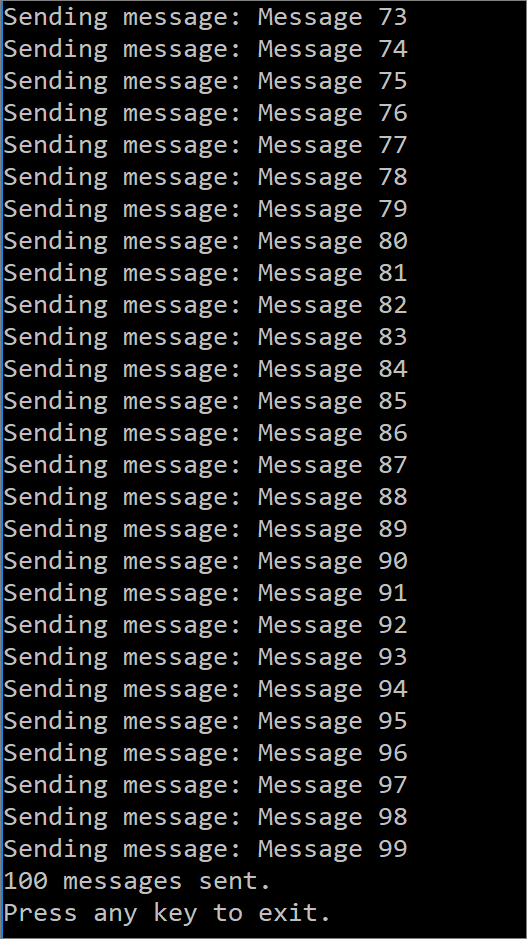
When we run this sample, we will send 100 messages (default) to our Event Hub. Since our IP Address has been added to the Accept list, we should see these messages successfully sent.
Let’s now focus on a negative test. In this test, we are going to change our IP filter from an Accept rule to a Reject action. To make this change we need to perform the following steps:
- Access our Event Hubs Namespace and click on the Virtual networks and IP filters setting.
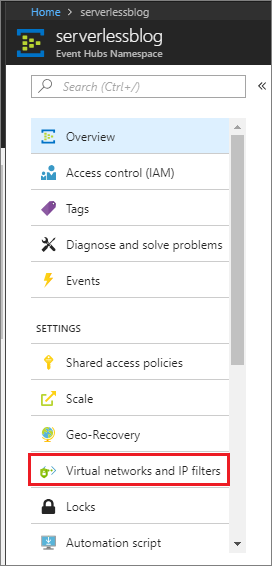
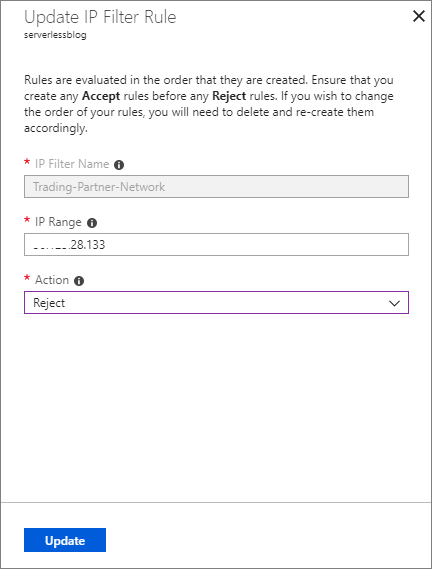
- Click on the rule that we previously set up (Trading-Partner-Network).
- Modify the Action. Change it from Accept to Reject and click the Update button.
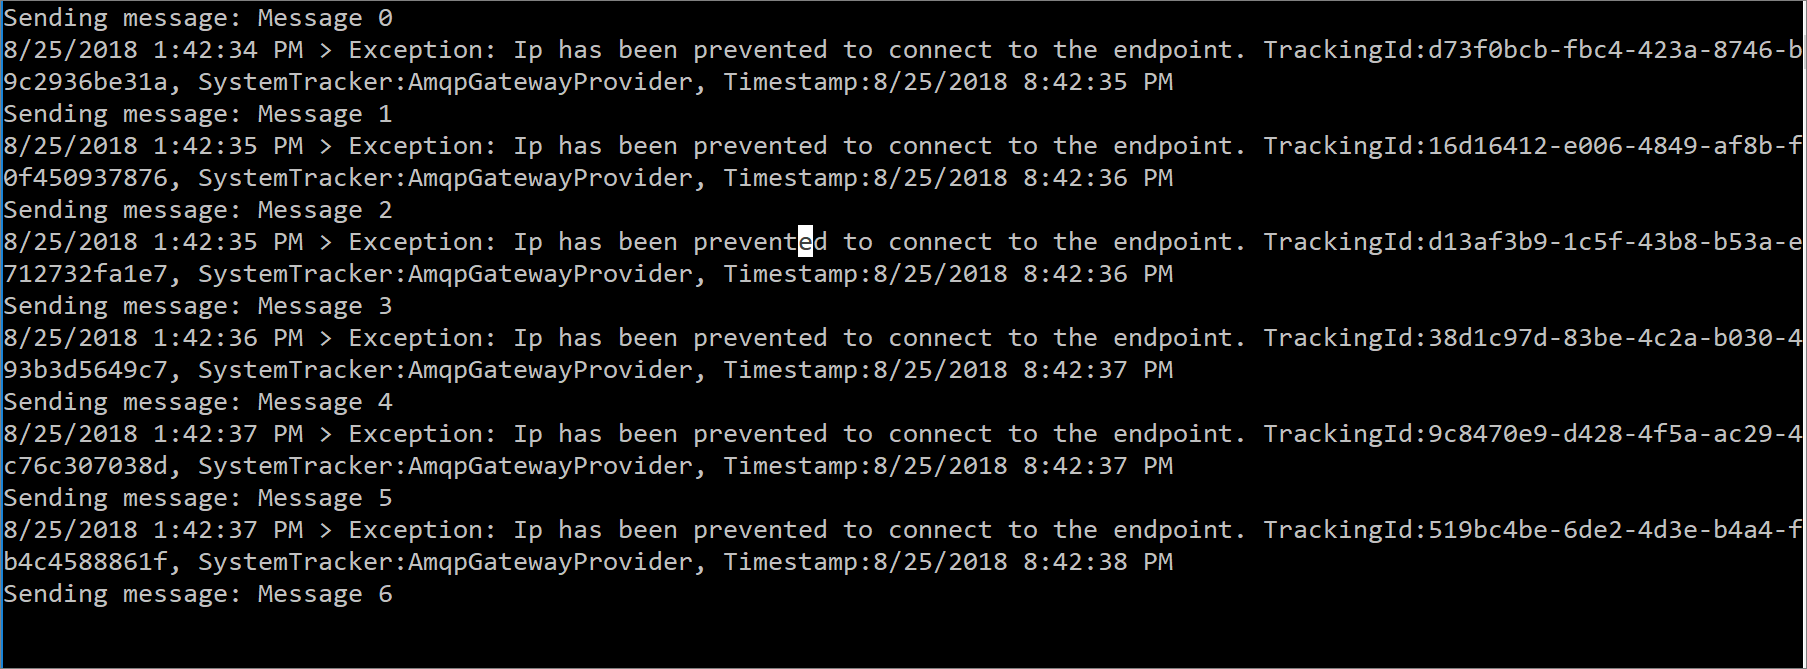
- Once the rule has been updated, let’s run our sample code once again. (You may also want to ensure that your IP Address has not changed either).
- When we run our sample code, we will discover that we are now receiving errors. The error message returned is IP has been prevented to connect to the endpoint which is the actual error that we would expect to receive after modifying our IP filter rule.
What about Azure Resources?
So what happens when we try to connect to an Event Hub from an Azure resource? Will we still be able to connect? Let’s find out by creating an Azure Logic App that will consume these messages that we just published to our Event Hub.
- To ensure our test is accurate, we should revert our IP filter rule to be an Accept action which would indicate that our IP address can once again send messages to our Event Hub. We want to see if Azure can connect to our Event Hub even when we have an Accept policy that indicates only our IP address can connect. Due to the nature of Azure and it having many IP Addresses, it isn’t practical to try the reject rule since connector traffic can occur from many different IP addresses. Please see the following link for more information.
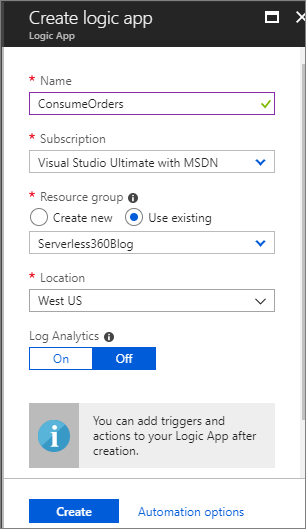
- Create a new Logic App from within the same Azure Subscription/Resource Group.
- Inside our logic app, we will add an Event Hubs trigger and can see the Event Hub that we previously created.
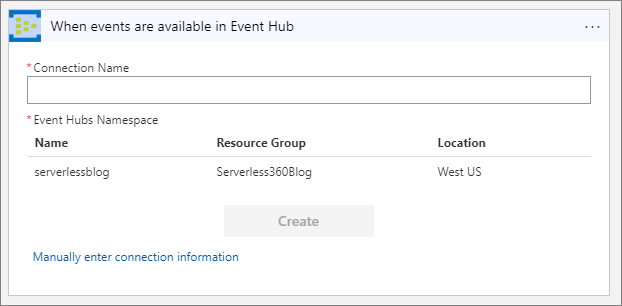
- We need to provide our Event Hub name (orders) We will use the default interval for checking for new items of 3 Minutes.
- Next, we will simply send these Event Hub messages to Request Bin, an HTTP debugging tool, by adding an HTTP Action to our logic app. The HTTP Request will have a Method of POST and the Body will be populated with the Body from our Event Hub message.
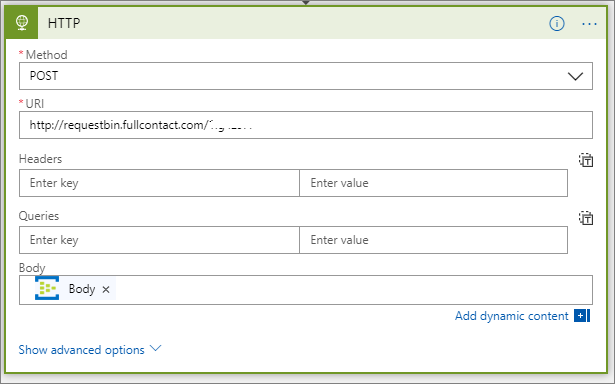
- With our configuration set, we can Save our logic app. It will attempt to pull messages off of our Event Hub.
- You can either wait for the next polling interview or click on the Run Trigger label for Logic Apps to attempt a connection to the Event Hub. What we will discover is that the logic app will be able to connect to the Event Hub and messages will begin to be consumed from the Event Hub.
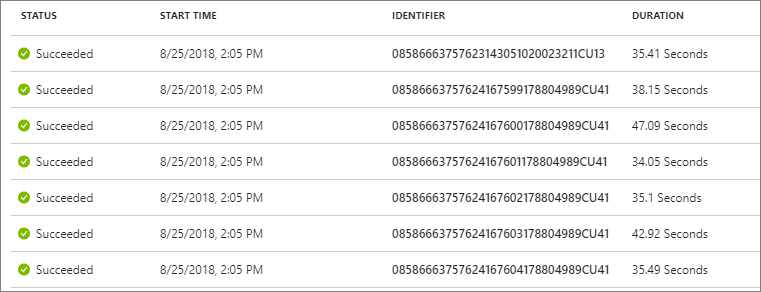
Note: I also performed another test where I published a message from a logic app with no difference in behavior.
Is this an issue?
Generally speaking, no it should not be an issue because Azure has its own set of governance controls built within the platform. Could our rouge employee provision an Azure service and communicate with this Event Hub? As we have seen yes. However, they would leave a trail of ‘breadcrumbs’ by accessing it through an Azure subscription as opposed to a pseudo-anonymous IP address that could be coming from behind a VPN or Proxy-service provider.
ARM Template Support
In addition to the content that has been covered in this blog post, it is worth noting that the Azure Messaging team has also included ARM support for IP filtering. What this means is if you are automating the deployment and configuration of your Azure Messaging assets, you can include this capability within your ARM Template. As you can see in the following snippet from the Azure documentation, IP filter rule configuration can be configured as ARM parameters. These parameters can then be referenced within the ARM template itself. This is a really important capability as it allows an organization to ensure that their IP filters are being consistently applied across all of their assets.
Depending upon an administrator to manually configure these values is error-prone and is an accident waiting to happen. All it takes is an Accept action to be misrepresented as a Reject action and you have a disruption of service or outage on your hands.
{
"$schema":"https://schema.management.azure.com/schemas/2014-04-01-preview/deploymentTemplate.json#",
"contentVersion":"1.0.0.0",
"parameters":{
"namespaceName":{
"type":"string",
"metadata":{
"description":"Name of the namespace"
}
},
"ipFilterRuleName":{
"type":"string",
"metadata":{
"description":"Name of the Authorization rule"
}
},
"ipFilterAction":{
"type":"string",
"allowedValues": ["Reject", "Accept"],
"metadata":{
"description":"IP Filter Action"
}
},
"IpMask":{
"type":"string",
"metadata":{
"description":"IP Mask"
}
}
},
"resources": [
{
"apiVersion": "2018-01-01-preview",
"name": "[concat(parameters('namespaceName'), '/', parameters('ipFilterRuleName'))]",
"type": "Microsoft.EventHub/Namespaces/IPFilterRules",
"properties": {
"FilterName":"[parameters('ipFilterRuleName')]",
"Action":"[parameters('ipFilterAction')]",
"IpMask": "[parameters('IpMask')]"
}
}
]
}
Conclusion
Most security-conscious organizations employ a ‘defense-in-depth’ cybersecurity strategy. What this means is that they apply multiple levels of protection in order to secure their assets. No organization should feel comfortable by deploying a single layer of security to protect their assets. With Azure Event Hubs and Service Bus now supporting IP filters for their namespaces, you can look at this as another layer of defense. You can leverage to impose additional controls that a threat-actor would need to overcome.
Note: If you have created Azure entities for the purpose of following along with this blog post, don’t forget to manage them appropriately in order to avoid undesirable charges.

