
Welcome again to another BizTalk Server to Azure Integration Services blog post. In my previous blog post, I discussed how you can implement the aggregation mapping pattern inside Logic Apps.
Today, I will address a very interesting BizTalk Server topic and how we can redesign our solution to implement the same capabilities inside Azure Integration Services: How you can migrate a BizTalk Server content-based routing solution with LOB Adapters – in this particular case, SQL Server.
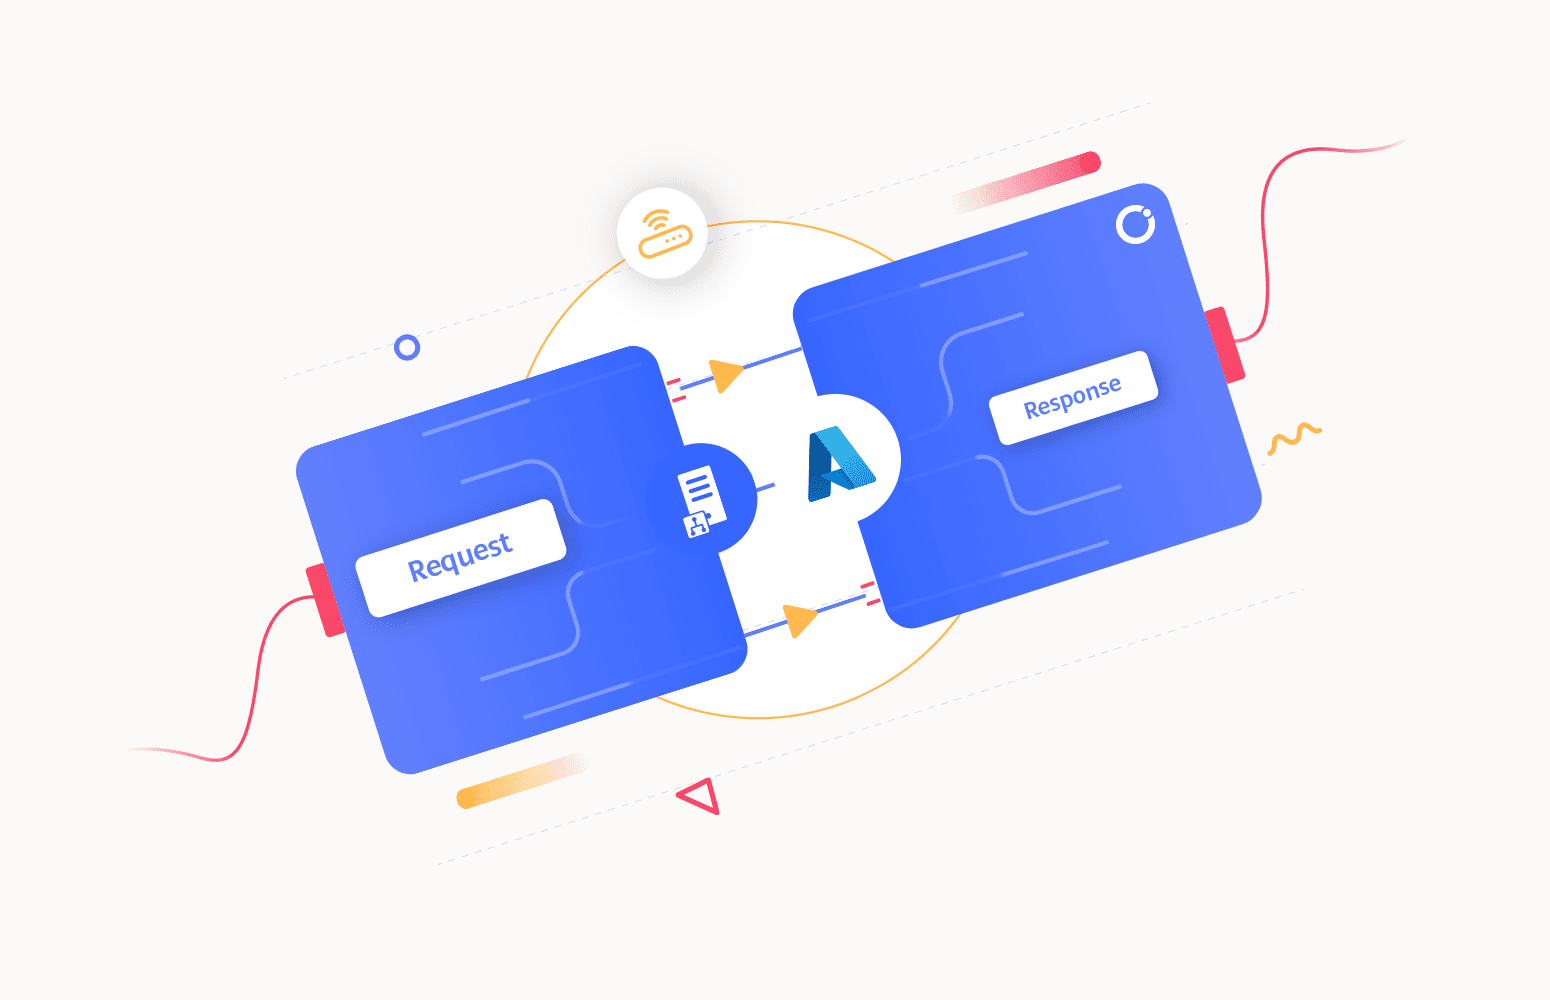
What is content-based routing?
If you are unfamiliar with the term content-based routing, Content-Based Routing is a messaging pattern and feature of Microsoft BizTalk Server that allows you to route messages based on their content, properties, or context. With content-based routing, you can define routing rules that determine where a message should be sent (or subscribed) within your integration solution based on the data within the message or its associated properties – in BizTalk Server context, it will typically be a Send Port (or send Port Group), but in rare implementations, it can also be an Orchestration. This helps direct messages to their appropriate destinations, a fundamental aspect of business process automation and integration.
At its core, content-based routing (CBR) in BizTalk Server revolves around the idea of inspecting a message’s content and making routing decisions based on this analysis. Unlike traditional routing, which typically depends on fixed endpoints, CBR allows for the dynamic determination of destinations based on the data within the message itself. This capability is particularly beneficial in complex business scenarios where messages need to be dispatched to different systems or workflows based on specific criteria.
BizTalk Server Content-based Routing solution with Line-Of-Business (LOB) Adapters
When you think about Request-Response routing solutions in BizTalk Server, whether you use a LOB adapter or not, what we usually see implemented in that type of solution is a BizTalk orchestration. Most of the time, a simple orchestration to receive the message, send it to the end system, receive the response from the end system, and send it back to the original caller, which is unnecessary! The main reason for this to happen is that we can specify filters on the Send Port, but we cannot apply them on Receive Ports or Receive Locations, so people get confused about how to correlate the response back. However, the answer is quite simple: on a request-response, the subscription (filter) back to the original caller is implicit in the channel; it is automatic.
Taking the following BizTalk Server example:
- We will have a BizTalk Server contract that is exposed as a WCF Service (XML/SOAP) with three operations:
- Add Person > will insert a person in a database
- Select Persons > will select persons from a database based on a property
- Delete Person > will delete a person from a database
- And, of course, the goal is to person these three actions in an SQL Server database without requiring orchestrations.
And to accomplish this, we will basically need to:
- Import the Schema definitions of these actions from the SQL Server database
- Create the canonical schemas (add, delete, and select) for the operations and a canonical response.
- Canonical schemas exposed on local IIS as WCF Service.
- Create 3 inbound maps that convert the canonical schemas request (add, delete, and select) into the equivalent operation in SQL Server
- Create 3 outbound maps that convert the SQL responses into the canonical response
- Create a pipeline component that promotes the Operation property and create a Receive pipeline that has that pipeline component inside.
- Finally, we need to create a WCF Receive Port and a WCF-SQL Send Port, this last port with a filter for the Receive Port.

You can find the BizTalk Solution on my GitHub here: BizTalk Server: Request-Response CBR with LOB Operations.
The challenge
Occasionally, and with increasing frequency, we are tasked with migrating BizTalk solutions to the Azure platform. When this situation occurs, our primary concern is ensuring that the Schema Contracts and workflow remain consistent. This ensures that the migration process reflects the original solution. This attention to detail is vital not only to maintain trust with our customers but also to underscore the fact that our Azure-based solution is not just a migration but a more advanced and sustainable option for the long term.
In this scenario, we’re dealing with a solution tightly integrated with a database. This solution’s core functionality involves processing XML requests and, depending on the request’s format, interacting with the database to produce a corresponding output. For instance:
- If a Select Operation request were sent, it would retrieve all entries in a table with the name John from the database.
- Likewise, if a Delete Operation request were sent, it would delete a record based on the Citizen Card.
- An Add Operation request would insert a new record into the table with predefined values provided in the request to match the schema.
The challenge is migrating this solution to the Azure platform while preserving its existing capabilities and functionalities. Once again, this is a straightforward integration solution that, at first glimpse, is quite simple to migrate; however, there are some challenges:
- We don’t have the concept of a message box that, in an easy way, can handle synchronous request-response without the need for a business process.
- The BizTalk WCF-SQL adapter is based on an XML message, and the SQL Connector is not. That means that we need to redesign that component, and the maps we use inside BizTalk are not valid, or better, they are unnecessary.
- We also want to migrate the solution in terms of requirements. That means we want to keep a single endpoint with three operations and still need to send a SOAP/XML message.
Of course, as always, we may find different solutions and approaches. For our suggested approach to migrate this solution using Azure Integration Services, we will need to use these stack options:
- Azure API Management to expose the SOAP contract, keeping the same input for the operations as it was designed in BizTalk Server.
- To innovate the solution, APIM will translate the XML request into JSON and send it to a Logic App to be processed.
- Based on the operation that is being triggered, APIM will add a header to the request – X-Operation-Type – that will inform the Logic App which operation to perform, which is similar to the Promote Operation in BizTalk Server.
- Logic App will respond in XML (we chose this way to simplify the APIM layer), and APIM will send that to the caller.
- A single Logic App to implement the business logic and communication with the SQL database
- Finally, we decided to lift and shift the on-premise SQL Database to the Azure SQL database.
In the following diagram, you can see services will interact:

Building the Logic App solution
To simplify, we started creating a Logic App, naming it LA-Receive-Insert-Delete-SQLDataBase-POC using the HTTP Request-Response template.

Save the Logic App for now. We will get back to it later.
Creating the CBRwithLOBOperations API on API Management
We will assume you have already created your API Management service, and we will start explaining how to create the API and the operations necessary for this solution migration.
The Microsoft APIM team has done an excellent job, and they created an intuitive and quite easy experience that quickly allows developers or administrators to add new APIs to APIM based on Azure Logic Apps. For that, you need to:
- Access to your APIM on the Azure Portal.
- On the left menu, click on the API option under the API Management section.

- Scroll down on the Define a new API panel and select the Logic App option.

- This will open a Create from Logic App form that will allow us, with a few clicks, to ingest our Logic App configuration into APIM. To do that, we need:
- Under the Logic App attribute, click Browse and select the Logic App we want to expose from the available list inside our subscription. In this case, the LA-Receive-Insert-Delete-SQLDataBase-POC.
- Note: that by default, all the required fields will be filled using the name of the Logic App;
- You can go ahead and click Create or change the mandatory values, field the optional ones (API URL suffix and Products”), and then click Create.
- We will go ahead and change the default configuration to:
- On the Display name property, set as CBRwithLOBOperations.
- On the Name property, set as CBRwithLOBOperations.
- On the API URL suffix property, set as sql-operations
- Click Create.
- Under the Logic App attribute, click Browse and select the Logic App we want to expose from the available list inside our subscription. In this case, the LA-Receive-Insert-Delete-SQLDataBase-POC.

- After you have done that, the wizard will create the CBRwithLOBOperations API and expose the Logic App under a POST operation called manual-invoke for you. Of course, we are now going to modify this operation and add more.
- To fix this configuration – the operation called manual-invoke – in order to have a proper REST best practice naming convention and to respect the contract we have in BizTalk Server, we need to:
- Select the manual-invoke operation, and on the Frontend panel, select the Open form-based editor

-
- On the Frontend editor panel, modify the following values and then select Save.
- Display name: change from manual-invoke to AddOperation
- URL: keep it POST operation but change the value /manual/paths/invoke to /person/addoperation
- On the Frontend editor panel, modify the following values and then select Save.

- Now that we have the AddOperation method, let’s manually add the SelectOperation and DeleteOperation: To do that, we need to:
- Click on +Add Operation.
- Set the following values on the Frontend editor panel and then select Save.
- Display name: set as SelectOperation
- URL: set as POST operation and then /person/selectoperation
- Click on +Add Operation.
- Set the following values on the Frontend editor panel and then select Save.
- Display name: set as DeleteOperation
- URL: set as POST operation and then /person/deleteoperation

- Now, we can go ahead and select the DeleteOperation and then the SelectOperation and click on HTTP(s) endpoint

- On the Backend panel, select Azure Logic App and click Browse
- From the Select Logic App trigger to import page, select the LA-Receive-Insert-Delete-SQLDataBase-POC
- Click Save.

As mentioned earlier, we’ve been committed to keeping requests and their schemas consistent from the start. This ensures that how we handle requests remains the same, maintaining continuity between the original BizTalk solution and the one we’re moving to Azure. This way, we guarantee consistent request processing, now and in the future. So this means that the request input we use today will be the same in the future. So here I will show you how these requests are done:
- AddOperation
<?xml version="1.0" encoding="utf-16"?>
<soap:Envelope xmlns:soap="https://schemas.xmlsoap.org/soap/envelope/" xmlns:xsi="https://www.w3.org/2001/XMLSchema-instance" xmlns:xsd="https://www.w3.org/2001/XMLSchema">
  <soap:Body>
    <AddPersons xmlns="https://EAISQLDemo.Person">
      <Person xmlns="">
        <FirstName>Sandro</FirstName>
        <LastName>Pereira</LastName>
        <CitizenCard>158742</CitizenCard>
        <AddressLine1>Porto</AddressLine1>
        <AddressLine2>Pedroso</AddressLine2>
        <ZipCode>6505-535</ZipCode>
        <Phone>
          <CountryCode>+351</CountryCode>
          <Prefix>91</Prefix>
          <Number>0000000</Number>
        </Phone>
        <Email>[email protected]</Email>
      </Person>
    </AddPersons>
  </soap:Body>
</soap:Envelope>
- SelectOperation
<?xml version="1.0" encoding="utf-16"?>

<soap:Envelope xmlns:soap="https://schemas.xmlsoap.org/soap/envelope/" xmlns:xsi="https://www.w3.org/2001/XMLSchema-instance" xmlns:xsd="https://www.w3.org/2001/XMLSchema">
    <soap:Body>
        <SelectPersons xmlns="https://CBRwithLOBOperations.SelectPersons">
            <Name xmlns="">Luis</Name>
        </SelectPersons>
    </soap:Body>
</soap:Envelope>
- DeleteOperation
<?xml version="1.0" encoding="utf-16"?>
<soap:Envelope xmlns:soap="https://schemas.xmlsoap.org/soap/envelope/" xmlns:xsi="https://www.w3.org/2001/XMLSchema-instance" xmlns:xsd="https://www.w3.org/2001/XMLSchema">
    <soap:Body>
        <DeletePerson xmlns="https://CBRwithLOBOperations.DeletePerson">
            <CitizenCard xmlns="">158742</CitizenCard>
        </DeletePerson>
    </soap:Body>
</soap:Envelope>
Knowing this and looking for the example of the AddOperation, we now will set up a policy that sends that information into the Logic App we created earlier, and not only that, we will ensure that this information already arrives at the Logic App in JSON Format:
- On the AddOperation, click on Add policy in the Inbound processing section.

-
Replace the existing policies for this one. In simple terms, this policy:
-
Takes incoming requests with the HTTP method POST.
-
Modifies the URI
- Add a X-Operation-Type header as InsertOperation
-
Sets the Content-Type header to JSON
-
Converts the request body from XML to JSON format and then forwards this modified request to a backend service (Logic App we specified), and when the response comes back, it sends it back to the client without further modifications.
-
<policies>
<inbound>
<base />
<set-backend-service id="apim-generated-policy" backend-id="LogicApp_LA-Receive-Insert-Delete-SQLDataBase_1ec10219eb707ebd1b085f557344d33e" />
<set-method id="apim-generated-policy">POST</set-method>
<rewrite-uri id="apim-generated-policy" template="/manual/paths/invoke/?api-version=2016-06-01&sp=/triggers/manual/run&sv=1.0&sig={{saspsqldatabase-person-operations_addoperation_6511784577f9fa14c96f429f}}" />
<set-header id="apim-generated-policy" name="Content-Type" exists-action="override">
<value>application/json</value>
</set-header>
<set-header id="insert-operation-header" name="X-Operation-Type" exists-action="override">
<value>InsertOperation</value>
</set-header>
<set-variable name="jsonBody" value="@{
var xmlString = context.Request.Body.As<string>(preserveContent: true);
var xmlDoc = new System.Xml.XmlDocument();
xmlDoc.LoadXml(xmlString);
var json = new
{
FirstName = xmlDoc.SelectSingleNode("//FirstName").InnerText,
LastName = xmlDoc.SelectSingleNode("//LastName").InnerText,
CitizenCard = xmlDoc.SelectSingleNode("//CitizenCard").InnerText,
AddressLine1 = xmlDoc.SelectSingleNode("//AddressLine1").InnerText,
AddressLine2 = xmlDoc.SelectSingleNode("//AddressLine2").InnerText,
ZipCode = xmlDoc.SelectSingleNode("//ZipCode").InnerText,
Phone = new
{
CountryCode = xmlDoc.SelectSingleNode("//Phone/CountryCode").InnerText,
Prefix = xmlDoc.SelectSingleNode("//Phone/Prefix").InnerText,
Number = xmlDoc.SelectSingleNode("//Phone/Number").InnerText,
},
Email = xmlDoc.SelectSingleNode("//Email").InnerText
};
var jsonStr = JsonConvert.SerializeObject(json);
var cleanedJsonStr = jsonStr.Replace("\\", ""); // Remove backslashes
return cleanedJsonStr;
}" />
<set-body>@{
return (string)context.Variables["jsonBody"];
}</set-body>
</inbound>
<backend>
<base />
</backend>
<outbound>
<base />
</outbound>
<on-error>
<base />
</on-error>
</policies> - Now, we need to do the same for the SelectOperation:
<policies>
<inbound>
<base />
<set-backend-service id="apim-generated-policy" backend-id="LogicApp_LA-Receive-Insert-Delete-SQLDataBase_1ec10219eb707ebd1b085f557344d33e" />
<set-method id="apim-generated-policy">POST</set-method>
<rewrite-uri id="apim-generated-policy" template="/manual/paths/invoke/?api-version=2016-06-01&sp=/triggers/manual/run&sv=1.0&sig={{saspsqldatabase-person-operations_selectoperation_6512a0b88bd4170fbb300cd4}}" />
<set-header id="apim-generated-policy" name="Content-Type" exists-action="override">
<value>application/json</value>
</set-header>
<set-header id="insert-operation-header" name="X-Operation-Type" exists-action="override">
<value>SelectOperation</value>
</set-header>
<set-variable name="jsonBody" value="@{
var xmlString = context.Request.Body.As<string>(preserveContent: true);
var xmlDoc = new System.Xml.XmlDocument();
xmlDoc.LoadXml(xmlString);
var name = xmlDoc.SelectSingleNode("//Name").InnerText;
var json = new
{
Name = name
};
var jsonStr = JsonConvert.SerializeObject(json);
var cleanedJsonStr = jsonStr.Replace("\\", ""); // Remove backslashes
return cleanedJsonStr;
}" />
<set-body>@{
return (string)context.Variables["jsonBody"];
}</set-body>
</inbound>
<backend>
<base />
</backend>
<outbound>
<base />
</outbound>
<on-error>
<base />
</on-error>
</policies> - And finally to the DeleteOperation:
<policies>
<inbound>
<base />
<set-backend-service id="apim-generated-policy" backend-id="LogicApp_LA-Receive-Insert-Delete-SQLDataBase_1ec10219eb707ebd1b085f557344d33e" />
<set-method id="apim-generated-policy">POST</set-method>
<rewrite-uri id="apim-generated-policy" template="/manual/paths/invoke/?api-version=2016-06-01&sp=/triggers/manual/run&sv=1.0&sig={{saspsqldatabase-person-operations_deleteoperation_65129ce0b3ad043b69ecc54e}}" />
<set-header id="apim-generated-policy" name="Content-Type" exists-action="override">
<value>application/json</value>
</set-header>
<set-header id="insert-operation-header" name="X-Operation-Type" exists-action="override">
<value>DeleteOperation</value>
</set-header>
<set-variable name="jsonBody" value="@{
var xmlString = context.Request.Body.As<string>(preserveContent: true);
var xmlDoc = new System.Xml.XmlDocument();
xmlDoc.LoadXml(xmlString);
var citizenCard = xmlDoc.SelectSingleNode("//CitizenCard").InnerText;
var json = new
{
CitizenCard = citizenCard
};
var jsonStr = JsonConvert.SerializeObject(json);
var cleanedJsonStr = jsonStr.Replace("\\", ""); // Remove backslashes
return cleanedJsonStr;
}" />
<set-body>@{
return (string)context.Variables["jsonBody"];
}</set-body>
</inbound>
<backend>
<base />
</backend>
<outbound>
<base />
</outbound>
<on-error>
<base />
</on-error>
</policies> Creating the Logic App
Now that we have already created and configured our API, let’s finalize constructing the complete Logic App business flow:
- After the When HTTP Request is received trigger, we will leave it as is without any further configurations.

Note: For now, delete the Response shape from the Logic App designer.
- Create a variable – varSelectOpAux – that will assist us later, in this case, an initialized variable.

- Following that, include a Parse JSON action to parse the headers. This is not mandatory but will allow us to access the headers easily. To achieve this, set the following Schema:
{
    "properties": {
        "Accept": {
            "type": "string"
        },
        "Accept-Encoding": {
            "type": "string"
        },
        "Accept-Language": {
            "type": "string"
        },
        "Cache-Control": {
            "type": "string"
        },
        "Connection": {
            "type": "string"
        },
        "Content-Length": {
            "type": "string"
        },
        "Content-Type": {
            "type": "string"
        },
        "Host": {
            "type": "string"
        },
        "Referer": {
            "type": "string"
        },
        "Sec-Fetch-Dest": {
            "type": "string"
        },
        "Sec-Fetch-Mode": {
            "type": "string"
        },
        "Sec-Fetch-Site": {
            "type": "string"
        },
        "X-Forwarded-For": {
            "type": "string"
        },
        "X-Operation-Type": {
            "type": "string"
        },
        "ocp-apim-subscription-key": {
            "type": "string"
        },
        "sec-ch-ua": {
            "type": "string"
        },
        "sec-ch-ua-mobile": {
            "type": "string"
        },
        "sec-ch-ua-platform": {
            "type": "string"
        }
    },
    "type": "object"
} 
- The reason for the schema is that the APIM will send us these headers on the request:

- The key value we’re interested in is X-Operation-Type as it specifies the type of request the Logic App is handling.
- Next, we add a Switch action, and on this switch, we dynamically choose the X-Operation-Type and create 3 different branches; the switch will evaluate the X-Operation-Type that was parsed and run through one of these 3 different branches:
- Case – Delete
- Case – Insert
- Case – Select


- On the Delete branch, what we should receive in our Trigger in the Logic App is this:
{
   "CitizenCard": "158742"
}
- So what we need to do is include a Parse JSON action to parse the Delete request and set the following Schema:
{
    "properties": {
        "CitizenCard": {
            "type": "string"
        }
    },
    "type": "object"
} 
-
Next, we use a Scope (in order to implement a try-catch mechanism), and it is inside this scope that we are going to put the logic that will delete the row from the database, so add another action inside the Scope this time an action from the operation SQL Server.

- Next, we will add a Response defining a static success message:

-
Given that we’re working with actions inside a Scope, it’s an excellent opportunity to introduce another Scope – specifically, a Catch Scope. This Catch Scope can effectively manage situations when things don’t go as planned, which is quite common due to factors like timeouts or incorrect content. Being prepared to handle errors is a fundamental aspect of solution development. So what we did was we used the Action Filter Array, and here we use the expression result(‘Delete_Try_Scope’), and in the comparator, we check where the Status is equal to Failed. (Do not forget to click on the three dots on the Delete Catch Scope and click on Configure Run After, and choosing, has failed, and has timed out, indicating that this portion of the flow should run if one of these two scenarios happens).

- Next, in the response, we used the format the client expects, again in XMLand the error that we uncovered from the scope that had Failed, and to do that, we used the expression:
first(body(‘Filter_array’))?[‘outputs’]?[‘body’]?[‘error’]?[‘message’]
- This way, we can retrieve the error message and know exactly why and how the flow failed.
- Of course, do not forget that the Status code here is for an error message, so we use the 500 Status Code.
- On the Insert branch
- The Parse will have a different schema
{
    "properties": {
        "AddressLine1": {
            "type": "string"
        },
        "AddressLine2": {
            "type": "string"
        },
        "CitizenCard": {
            "type": "string"
        },
        "Email": {
            "type": "string"
        },
        "FirstName": {
            "type": "string"
        },
        "LastName": {
            "type": "string"
        },
        "Phone": {
            "properties": {
                "CountryCode": {
                    "type": "string"
                },
                "Number": {
                    "type": "string"
                },
                "Prefix": {
                    "type": "string"
                }
            },
            "type": "object"
        },
        "ZipCode": {
            "type": "string"
        }
    },
    "type": "object"
} -
- And we will be applying an SQL Insert operation.

-
- The rest of the actions will be the same as the Delete operation
- On the Select Branch
- The Parse, once again, will have a different schema
{
    "properties": {
        "Name": {
            "type": "string"
        }
    },
    "type": "object"
} -
- And we will be applying an SQL Select operation.

-
- After this, we should also pay attention to situations where we may have no records with that name or where we also may have more than one person with the same name, and we want to retrieve all these records, and the way to do it is through a condition.
- First, we check if the results of the query are equal to null.
- If that is true, then we need to return a static message without the result:

-
-
- Otherwise, we need to go for each record found in SQL and start creating the Person Array. To accomplish that, we need to add a For each. Next, we add an Append to String Variable, and remember that at the beginning of the flow, we initialized a variable, so we will use that variable now to append the info.
- What this will do is, for the records with more than one name equal to Sandro, append it to the variable with the info we are referencing. In this case, the CitizenCard, FullName, Address, ZipCode, PhoneNumber, and Email
- Otherwise, we need to go for each record found in SQL and start creating the Person Array. To accomplish that, we need to add a For each. Next, we add an Append to String Variable, and remember that at the beginning of the flow, we initialized a variable, so we will use that variable now to append the info.
-

-
-
-
After this, we add a Response, and in that response, we should include the variable.
-
-

- Save your Logic App!
The logic for all three case scenarios is now in place, enabling us to send requests. With this setup between API Management and the Logic App, the migration is finished and will function in the same manner consistent as it was with BizTalk. This ensures that the client doesn’t have to alter their processes and payloads, simplifying their daily tasks.
I hope you find this POC useful, and stay tuned for more BizTalk Server to Azure Integration Services.


